How to fix a Hair Dye Disaster
Whether you trusted your hair to the wrong stylist or an attempt at home colouring went sideways, dyeing mishaps can feel like a nightmare.
No matter what the ads for box dyes might say, colouring hair can be a delicate process, particularly when strong chemicals like bleach are involved, and there’s a lot that can go wrong.
You might dread ending up stuck for weeks with brassy tones or weird orange roots or worrying that you’ve permanently damaged your hair. But try to take a deep breath – no hair disaster is completely unfixable in the right hands.
In this post, we’ll cover those common hair mistakes which can happen with permanent dye, the quick fixes you can try in the short term, and some solutions your local salon can help you with for the long term.
“I’d like to thank Corey for such amazing work today, after 5 hours sorting out and correcting my colour I feel a million dollars, it’s truly beyond my expectations.” – Gail Taylor, Bristol Salon
Bad Blonde
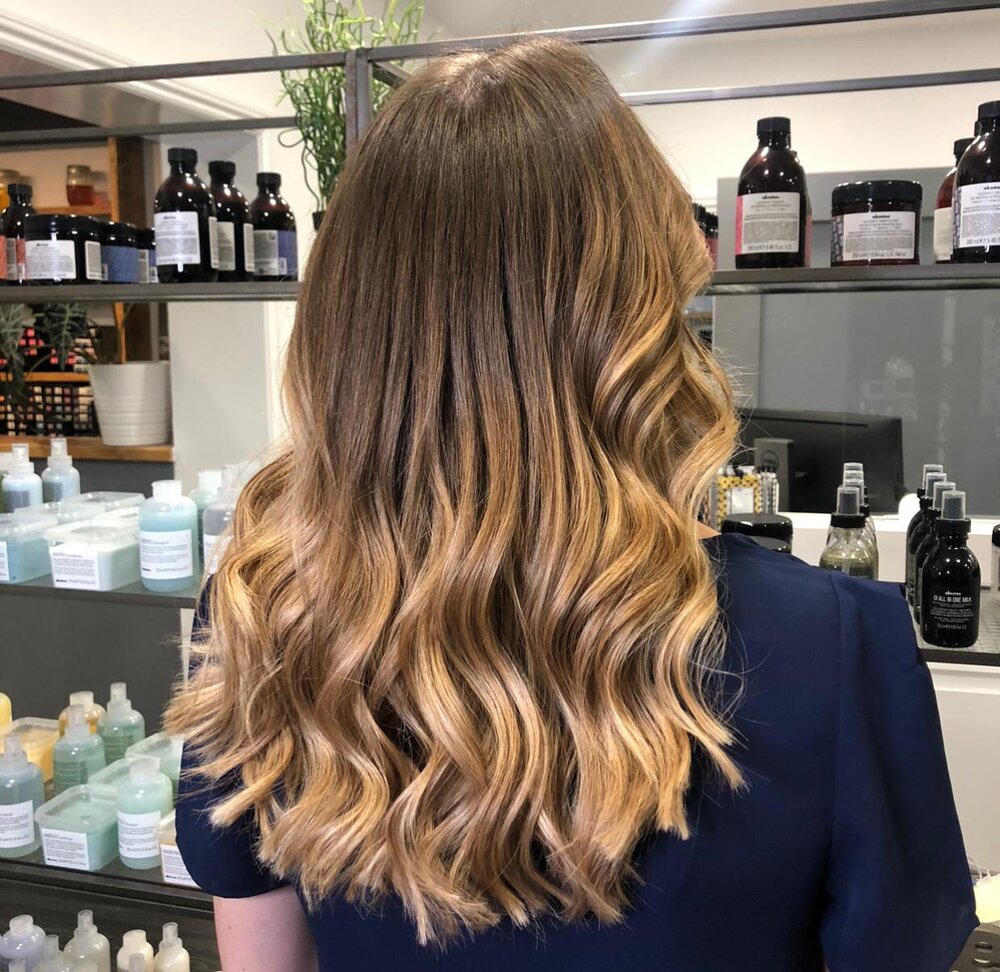
Not only is blonde one of the most popular artificial hair colours, but it’s one of the easiest to get wrong. Tinting it too much either way could leave you with green-grey ashy tones, orange brassiness, or even barbie yellow hair.
If you’re using bleach to remove the existing colour, this may also make your hair dry and brittle (more on this later).
In the short term, toning hair masks or shampoos can help to cool down lemony or brassy hair. Blue ash, iridescent pink, or purple toner treatments could work best, as they are opposite yellow and orange on the colour wheel.
You can also use toners to adjust hair that’s gone too ashy (think grey or greenish). However, in this case, you’ll want the opposite – warming toner colours such as orange and yellow.
In the long term, salon stylists often have a wealth of knowledge about which products to use to get blonde hair to the exact colour you want. In some cases (orange highlights can be particularly stubborn), they may ultimately need to re-bleach your hair and start again to create the desired effect.
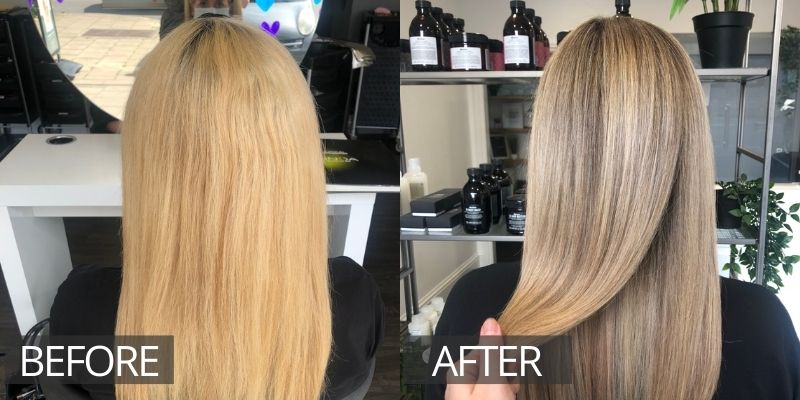
On the upside, you can now use these bad hair experiences to discuss with your stylist what you don’t want. If you couldn’t stand being an ashier blonde, for example, open a conversation about how they can help you to create a warmer effect which still looks natural.
Radical Roots
Dealing with roots growing out over weeks is a tale as old as time for everyone who colours their hair. But what if you’ve only just dyed it, and the roots are already looking a completely different colour to the rest of your hair?
Warm or orange roots are sometimes known as “hot roots”. If you frequently process your hair, or have coloured it previously, the untreated hair at the roots can have a different reaction to the dye, creating a two-tone effect.
Hot roots can also occur when the heat from your scalp causes the dye there to develop more quickly than on the rest of your hair.
If this happens at home, you can try patching up your colour by applying a small amount of “anti-brass” treatment or cool toner to your roots.
If you don’t feel confident with this or it doesn’t have the effect you want, most stylists will be able to colour-correct your roots using a deeper colour or highlights so that they blend in perfectly with the rest of your hair.
During future colouring, you can also try applying the colour to your roots after you’ve coated the rest of your hair (or keeping the dye on your roots for longer, if they came out too light last time).
Judging the correct timing for colouring along the length of your hair can be difficult at home and may end up in a drastic difference if you guess incorrectly. If possible, ask a stylist to do this for you, explaining exactly what happened during the last attempt.

High Intensity
All it takes is one distraction and… oops, you’ve left your colour on for too long! The result: super dark or extremely intense colour you never thought you’d be seen dead wearing.
When you need your hair colour to fade ASAP, the first thing to do is wash your hair immediately, several times if possible. You could use washing up liquid or a clarifying shampoo to strip the colour as best you can.
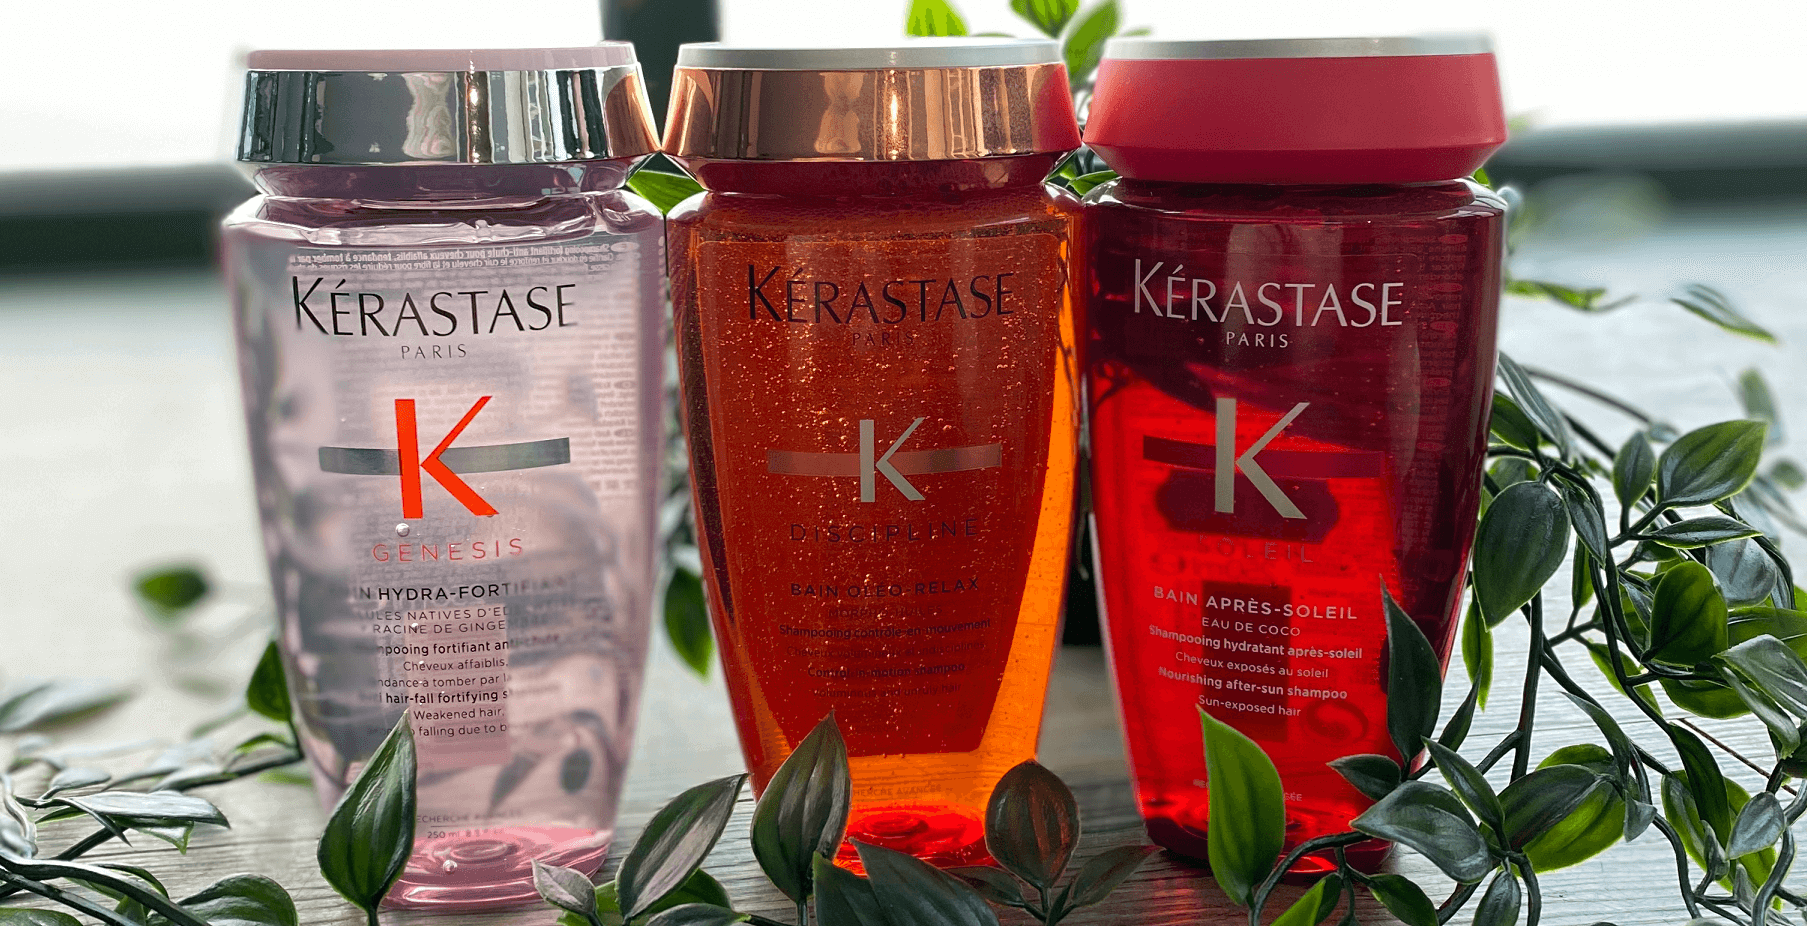
While this is the fastest way to de-escalate the situation, it can be a harsh treatment for your hair, so make sure to treat it to some deep conditioning afterwards. We love the Kerastase hair masques.
Your stylist can advise you what the best next step might be. In some cases, removing the hair dye entirely might be possible, in other cases, this might cause some undesirable damage, and continuing to encourage it to fade quickly is the best way forward. Another option is using highlights or balayage to lighten the overall effect.
Patchy Colour
Home dye jobs or inexperienced stylists can produce patchy colour coverage, which is the last thing you need when you’re trying out a stunning new look.
There can be many causes of uneven coverage. From incorrectly mixed dye to damaged hair, to application problems.
Figuring out what went wrong can often help you to find the right solution. However, this is best done with the help of a professional, who will be able to best diagnose why those patches appeared, find a solution, and help you to figure out how to avoid it in the future.
Some possible fixes include re-dying the hair (either the same colour or darker), nourishing your hair to improve the condition, using toner to touch up the patches, or using gloss treatments.
Colouring hair often takes a few coats such as when painting a wall to give it the required depth and undercoat creating a smoother finish.
“My hair was in a bit of a poor state due to box dyes during lockdown and a patchy colour job from another salon, and I definitely felt that Marika cared and took the time to go through exactly what I wanted and what she felt would be best for my hair going forward. It looks so much healthier!” – Sophie Wills, Bristol Salon
Tiger Stripes
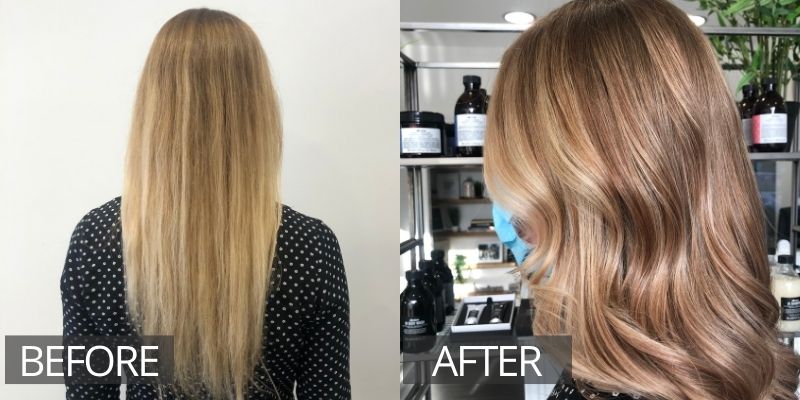
It’s a tragedy when you dye your hair dreaming of delicate highlights and come out with bold streaks. Stripey highlights can be alarming, but they’re often a quick fix at a salon.
Chunky highlights are most common when you bleach sections of your hair which are too thick, reducing the desired colour-mixing effect.
One long term solution is to delicately dye more of your hair back to the base colour, reducing the volume of the highlights. Another is to use an effect such as balayage to disguise the highlights (see below).
Colour Spills
We’ve all cringed over those Instagram stories of someone dyeing half their face blue in the pursuit of a new hair colour. It’s more common to only suffer from stains around your neck, hairline, or hands. Either way, it’s hardly the start to a glamorous new you that you pictured.
Hairdressers use a stain remover but, if you are at home and don’t have any, some milk on cotton wool can do a good job.
Even good old soap and water can work magic. On harder to clean areas, you can also try baby oil, body scrubs or rubbing alcohol if all else fails (make sure to apply this lightly, without scrubbing your skin).
As is often the case, prevention is the best cure. Always use gloves if dyeing your hair at home, and make sure to wipe away any drips of colour immediately rather than leaving them to set on your skin. Putting moisturiser or Vaseline around your hairline can also work wonders.
Major Hair Damage
Bleach, as well as permanent and semi-permanent dyes, cause the protective proteins in your hair to lift. This in turn can alter your hair follicles and change the structure of your hair.
This might bring on effects such as split ends, weaker hair, a “crunchy”, texture, frizz, or less resistance to heat.
If you’re only experiencing minor damaging effects from hair dye, you should focus on keeping your hair conditioned, nourished, and follow the normal guidelines for maintaining hair health in coloured hair.
For major damage, a salon will be able to help you to find the appropriate products and treatments to bring your hair back to life as much as possible. In serious cases, cutting your hair shorter may be recommended to reduce hair breakage.
Whether you’re trying to combat a dye mishap or have decided to leave your new colour to the professionals, the expert stylists at NOCO would love to help. Contact us today to book in your free colour consultation.


